
Simple Soap
Why I Started Making Soap:
This story starts like so many of my others, I wasn’t happy with the ingredients in the soaps I was using. (I encourage you to do your own research into what chemicals are found inside the average bottle of liquid body soap, and also in the solid bars of soap, not to mention shampoos.) I also wasn’t happy with the cost of the better ingredient alternatives. Why does it always seem that anything healthier, with fewer, basic ingredients, costs so much more than the toxic version with twice the ‘ingredient’ list? So I did what I always do when I’m frustrated - I started making it myself.
Now I not only make my family’s body soap, I also make shampoo bars, facial bars, laundry soap, and soap for my pets. I make gifts for friends, and barter for other things with my soap. It has become a staple in my life.
Another great benefit? The soap I make does not dry my skin out! It is nourishing, and moisturizing. I can add additives to gain their benefits if I want. My skin and hair are way healthier! Most of the ingredients can be found in a grocery store, and the others are easy to source from craft stores or online.
This is such an easy project! I really hope you’ll try it!

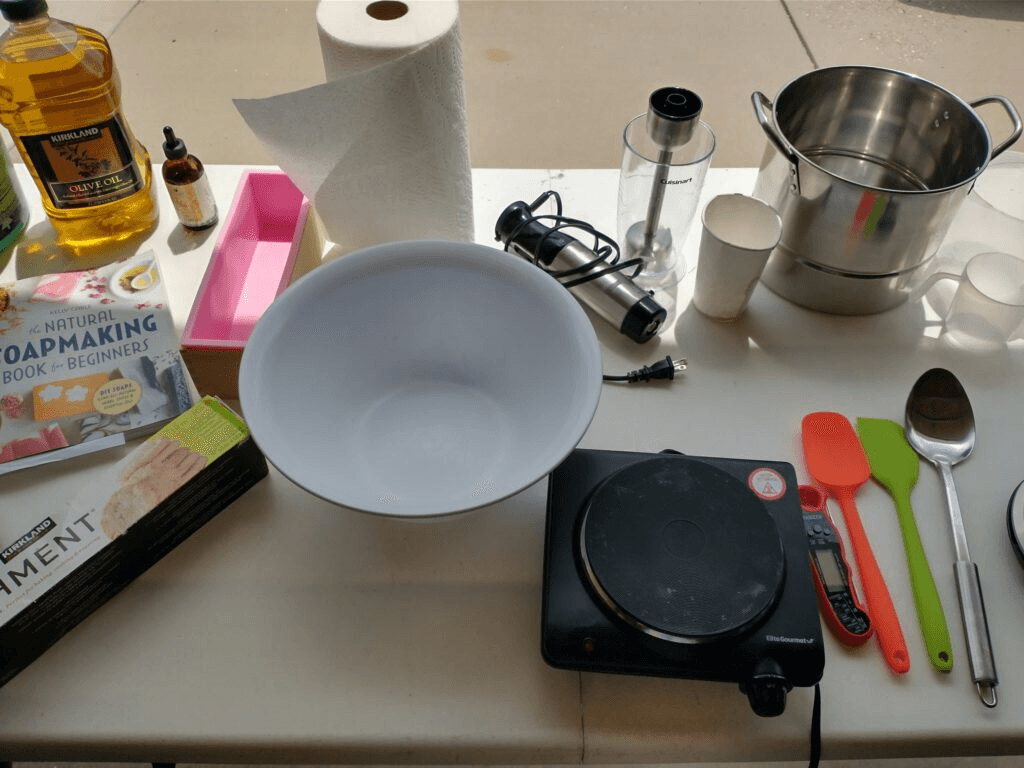
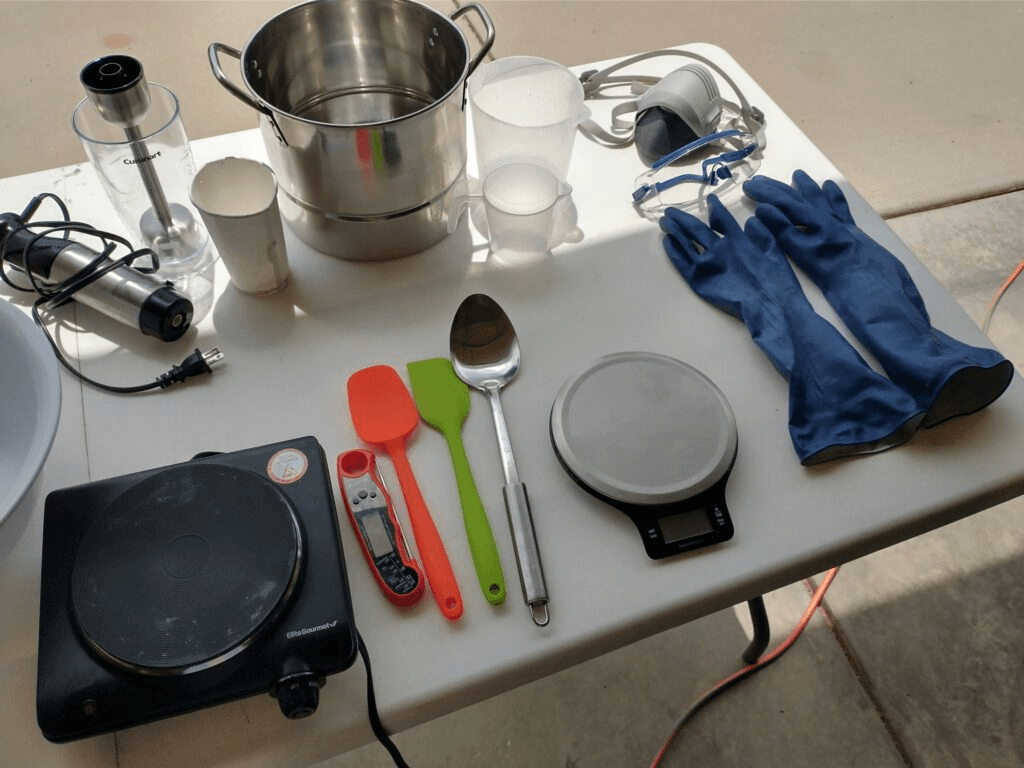
Supply List:
Chemical resistant gloves. I just use the common household ones.
Goggles or other protective eyewear.
Safety mask. Just to cover your face and keep you from breathing in lye fumes.
Clothing that covers exposed skin. I don’t always do this, even though I should.
Stainless steel pot. Large enough to use a stick blender and not have anything splash out. Not gigantic like a canning pot. More like a 6 quart pot.
Stick blender.
Extension Cord, optional.
Large stainless steel spoon.
Large plastic bowl for mixing the lye and water.
Kitchen scale. Needs to measure ounces out to one decimal.
Rubber spatula.
Soap mold. Needs to hold 3 pounds. Loaf or bar shapes are fine.
Parchment or waxed paper
Lye crystals or pellets. Sodium hydroxide preferred.
Paper cup or plastic sandwich bag for holding the lye. I like the paper cup.
Filtered water.
Coconut Oil.
Olive Oil.
Lard.
One ounce essential oil of choice for scent. I used grapefruit.
Old Towels or Blanket.
White vinegar, in case you get some lye or soap on your skin.
Paper towels to wipe up spills.
Measuring cups.
Something to hold water, like a quart jar or pitcher.
A place to dry and cure your soap once cut.
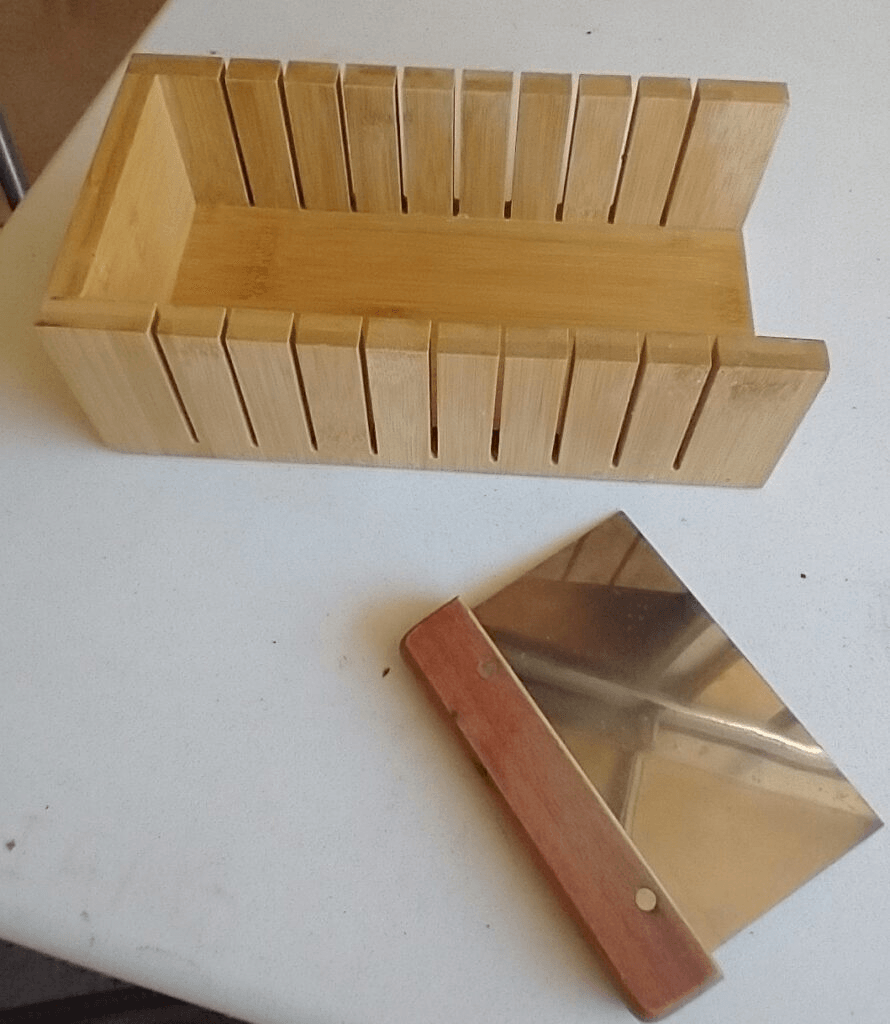
Soap cutter or knife.
A soap cutting guide or ruler.
Sourcing Supplies:
Most of these supplies can be found at local retailers. Stores like Wal-Mart, Hobby Lobby, Home Depot, and your local grocer. If all else fails, Amazon will have everything you need. Don’t worry about buying the highest quality oils for this project. I buy the big blue bucket of lard from Wal-Mart, big bottles of olive oil from Costco, and the big jar or coconut oil from Costco as well. You can spend the extra money, but it isn’t necessary. You can also source things from second hand stores, from Amazon’s used and refurbished, and garage sales. Keep in mind that it is better to have supplies exclusively for the purpose of soapmaking. Cross-contamination either direction is not good. If you are using something that will not come in contact with the lye or the soap while it is still liquid, like maybe the pitcher you brought your water out in, that should be completely safe to use normally.
The Recipe:
If you’ve been with me for a while, you won’t be surprised to read that the recipe I am giving you is not original. I use this recipe a lot, and really like it, but it is not mine. It comes from a wonderful book: The Natural Soapmaking Book for Beginners by Kelly Cable. I highly recommend you buy and use this book, should you decide to continue soapmaking. Her website is also awesome. The technique I use is different than the one suggested in the book. I have made this soap over and over, and my technique makes it go a little faster.
12 ounces Olive Oil
11 ounces Lard
10 ounces Coconut Oil
4.5 ounces Lye
12.5 ounces Filtered Water
1 ounce Essential Oil of choice (optional)
The Method:
You will need to do this on a day when you can be outside. I use my garage, with the garage door open. If the weather is inclement I am still protected that way. I don’t like the idea of carrying the lye water inside after mixing it. I just don’t trust myself not to spill. But you can make everything inside with the exception of adding the lye to the water. It produces a vapor that is none to friendly to your mucus membranes and lungs. This is short lived, like less than a minute, but err on the side of caution with this one.
I like to have everything set up on my table before I begin. Note in the above pictures, I added some items that you won’t need to use for this particular project. I do use them for soapmaking at other times.
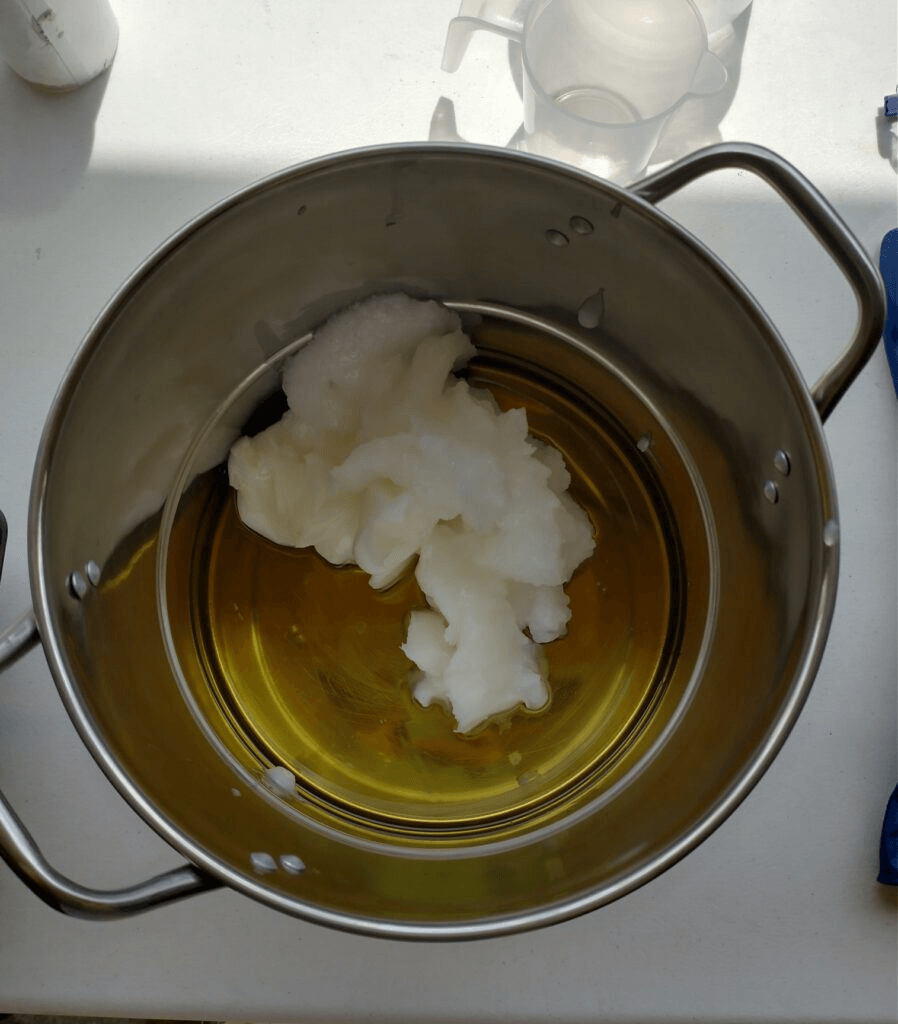
First Step:
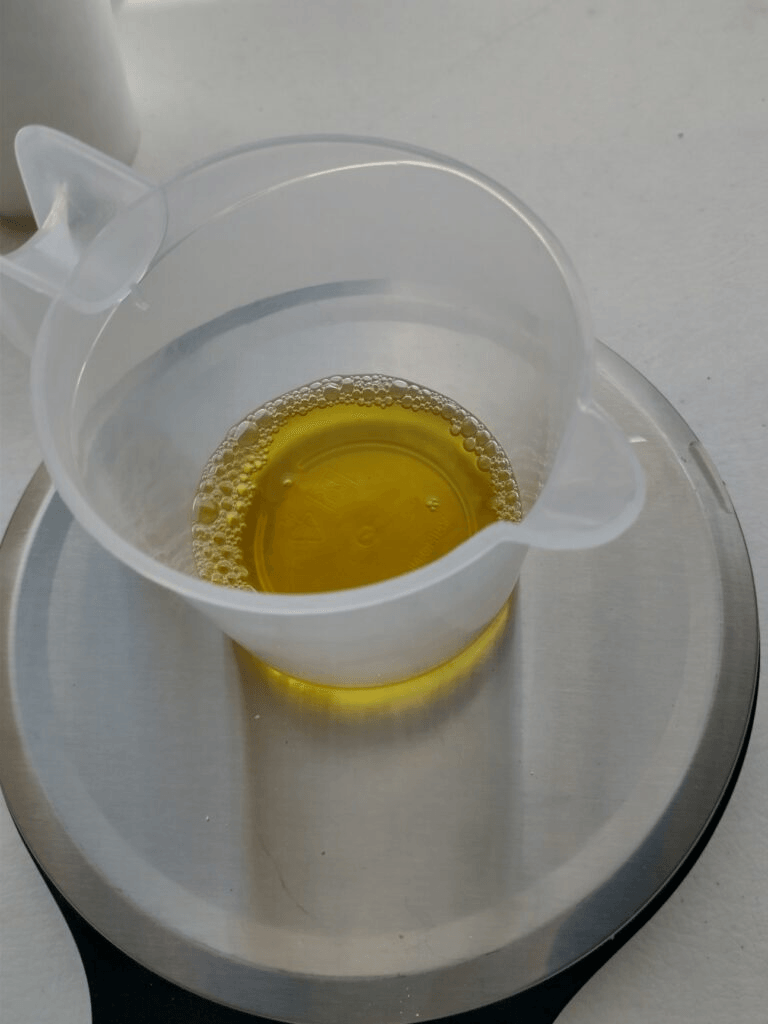
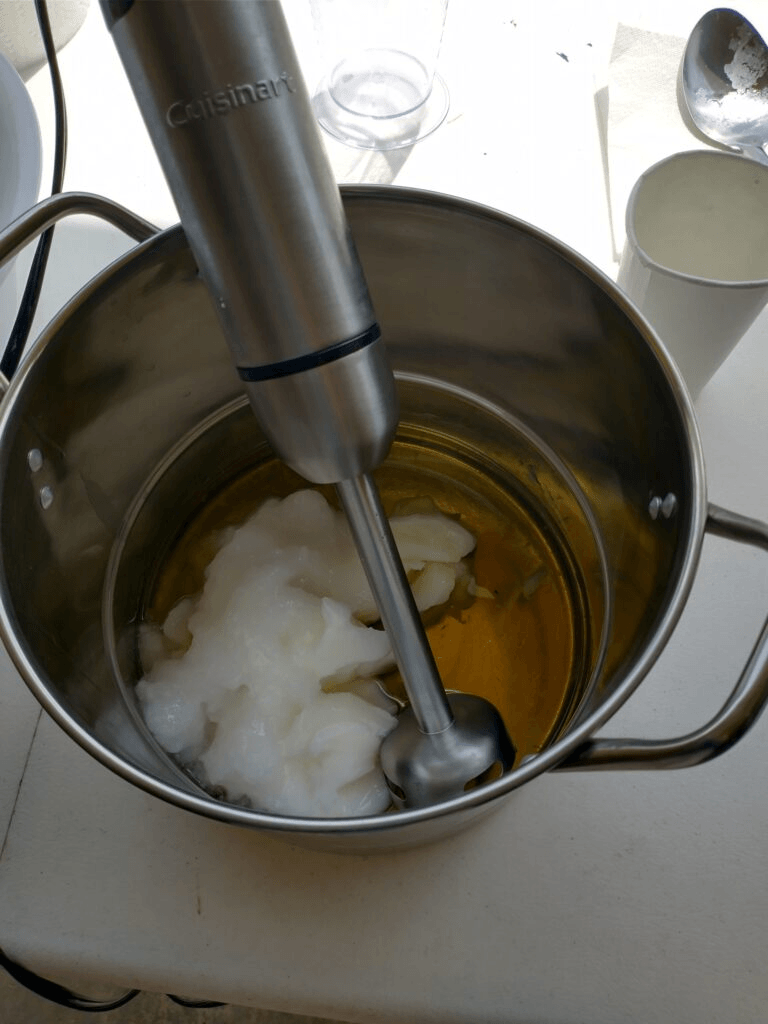
I like to measure everything out before I start the lye water. Grab your scale and the stainless steel pot. Turn on your scale, place the pot on it and hit tare. Make sure your scale is set to ounces. Slowly pour your olive oil into the pot, watching the number on your scale. Stop when you hit 12 ounces. If you get too much, you can grab a measuring cup or spoon and remove the extra. Repeat this process with the coconut oil and lard, scooping out small amounts and adding them to the pot until you reach the desired amount. If you are math challenged, you can reset the scale to zero in between each addition by using the tare function. That way you don’t have to add numbers together. You could also measure out each oil individually and then add them to the pot. Set the pot with the oils aside.
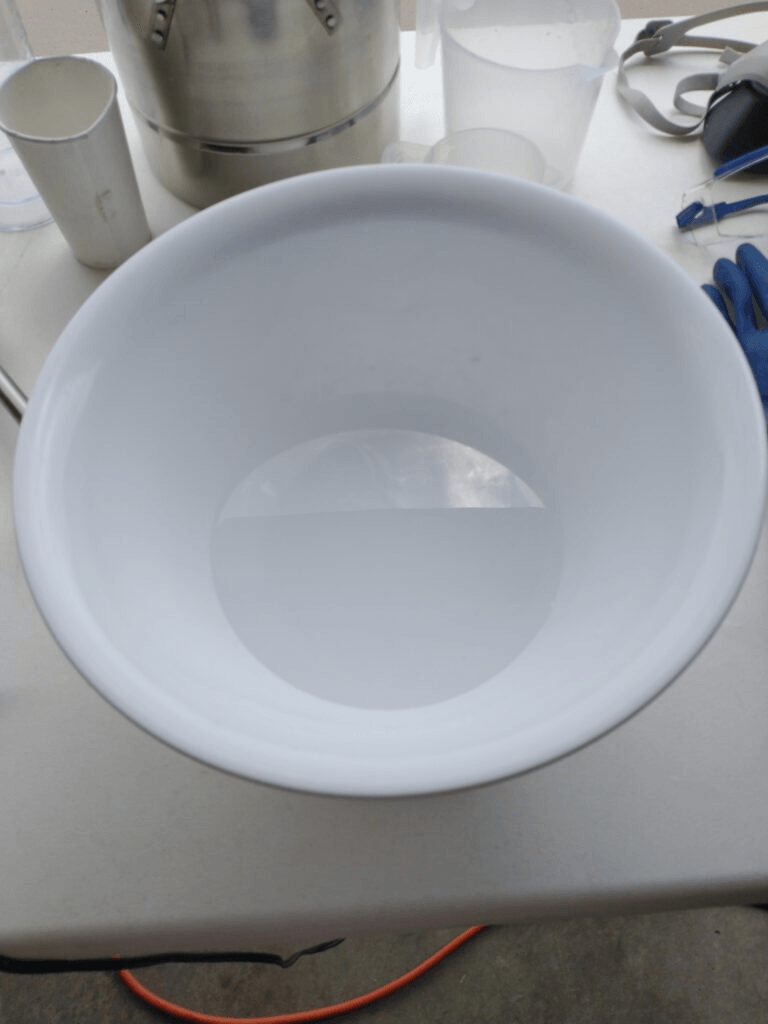
Place the plastic bowl for the water and lye on the scale and tare. Slowly pour the water until you reach 12.5 ounces. Again if you get too much, just remove the extra. Set the bowl aside.
Now place a small measuring cup on the scale and tare it. Pour out one ounce of your essential oil, if using. If you bought a one ounce bottle, or two .5 ounce bottles, you won’t need to do this step. I do recommend removing the dropper from inside the bottle so you can pour it out quickly. Set this aside.
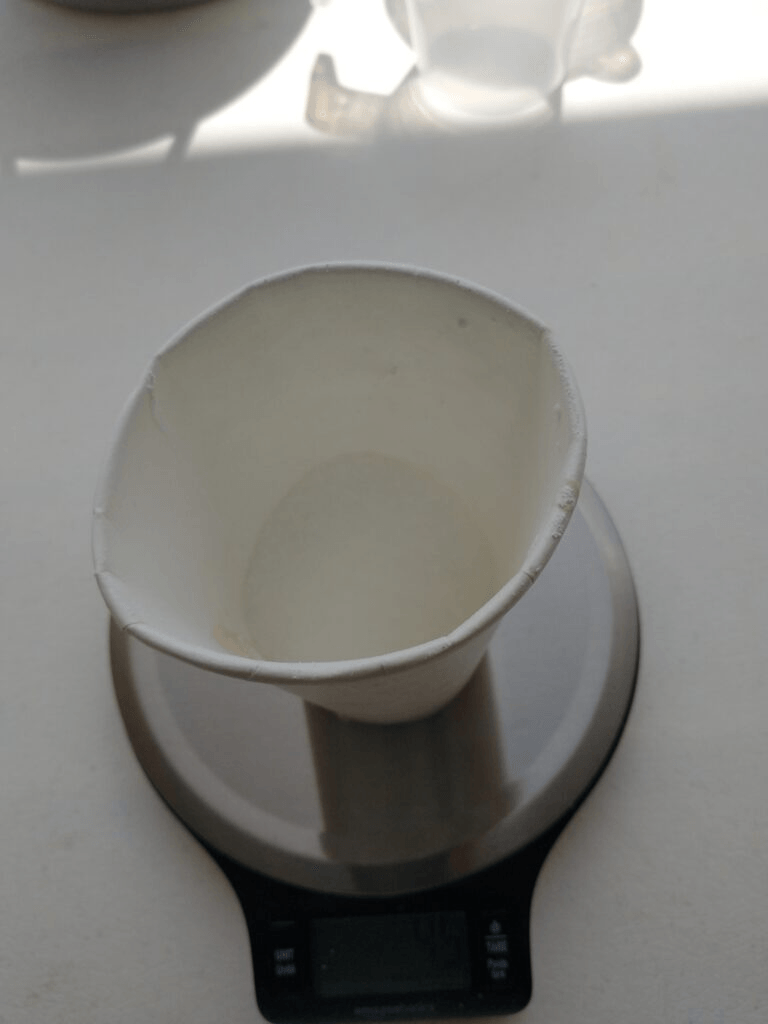
Our final ingredient to measure is the lye. Put on your gloves before you do this. If you are extra cautious, you can put on your eye protection as well. Grab your paper cup or plastic sandwich bag, place it on the scale and hit tare. Open your lye and slowly pour into your container until you reach 4.5 ounces. Again, if you go over, remove the extra. Make sure what ever you are using to remove the excess is dry! I just put it back in the container. Set this aside.
Second Step:
Clear an area so you can work and not knock things over. Time to get your protective gear on. I usually put on my mask first, then goggles, and gloves last. Make sure everyone knows you are about to do something unsafe and to not disturb you. Deep breath! This sounds way scarier than it actually is! Just remain calm and focused. I also like to get my stick (immersion) blender plugged in at this point. I usually set it in the pot with the oils.
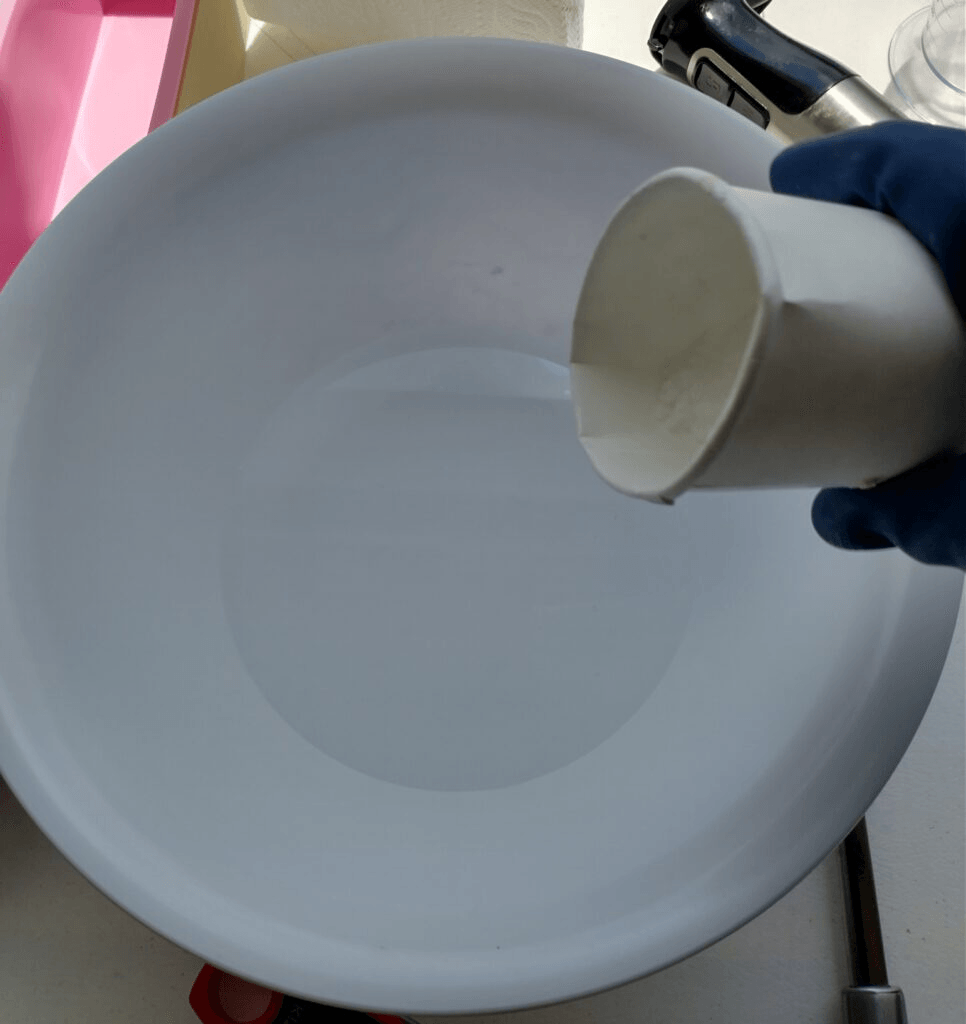
Get your plastic bowl with the water, the cup or bag with the lye, and your stainless steel spoon. I like to have a square of folded paper toweling ready to rest the spoon on when I am done. You are going to slowly pour the lye into the water bowl. The method is always lye into water, never water into lye. This prevents explosions of lye and water splashing all over you. You are going to see steam, and feel the heat of this reaction. This is normal. Take your spoon and gently stir the lye to help it dissolve. Once the lye is dissolved, and the water become clear, it should be safe for you to take the safety mask off. The fumes are dissipated. Keep your gloves on, and eye protection.
Third Step:
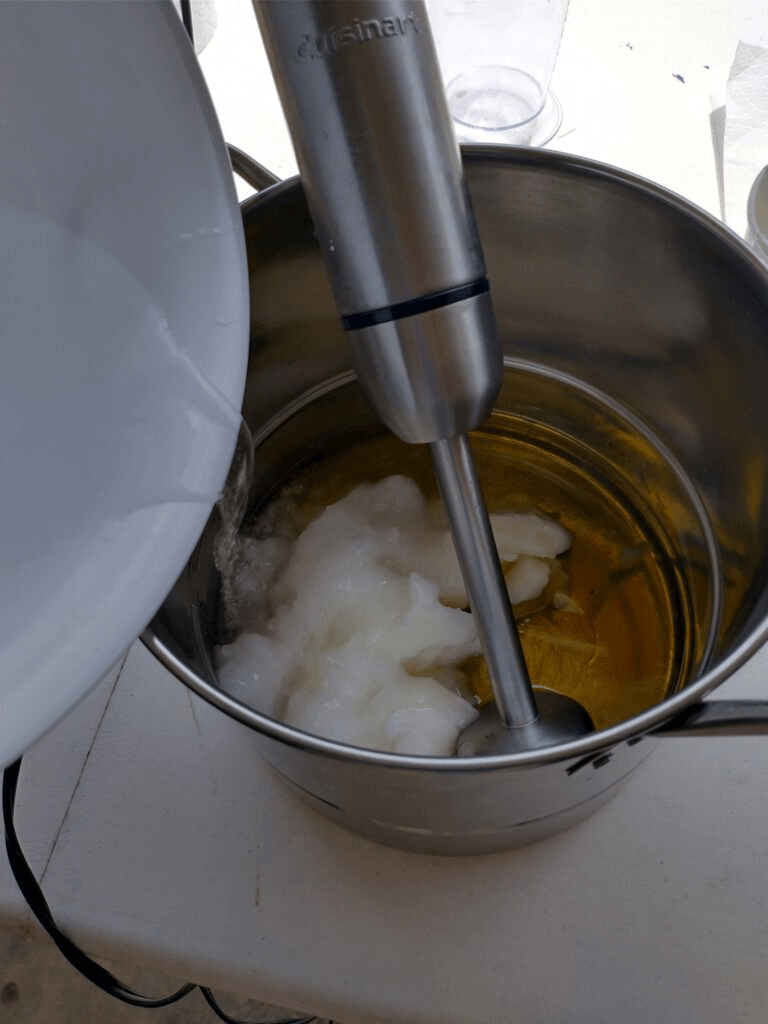
Now it is time to pour the lye water into your pot of oils. Keep calm, move gently, and stay focused. You can do this! Take the stick blender out first if you are concerned it will cause you to splash the lye water.
Now the fun part! Blending it all together! Take your stick blender and begin combining the oils and lye water together. Keep it immersed so you don’t get splashed. I like to keep it on low speed as well. Blend for a minute or two. Rest for a minute or two. This way you don’t burn out the motor in your blender. I can’t give you a time for how long this step will take you. You are trying to reach what is called light trace. Which means that your soap will leave a light trail that rests on top of itself when you drizzle it. Kind of like a thin pudding consistency. Keep blending and resting until you reach light trace.
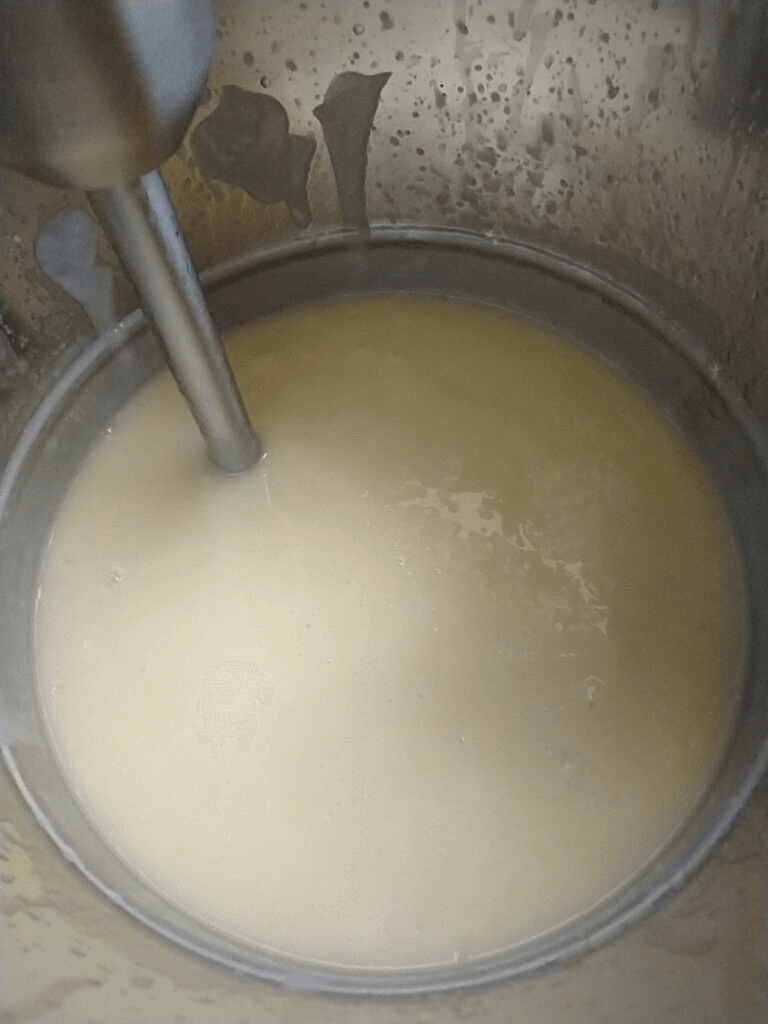
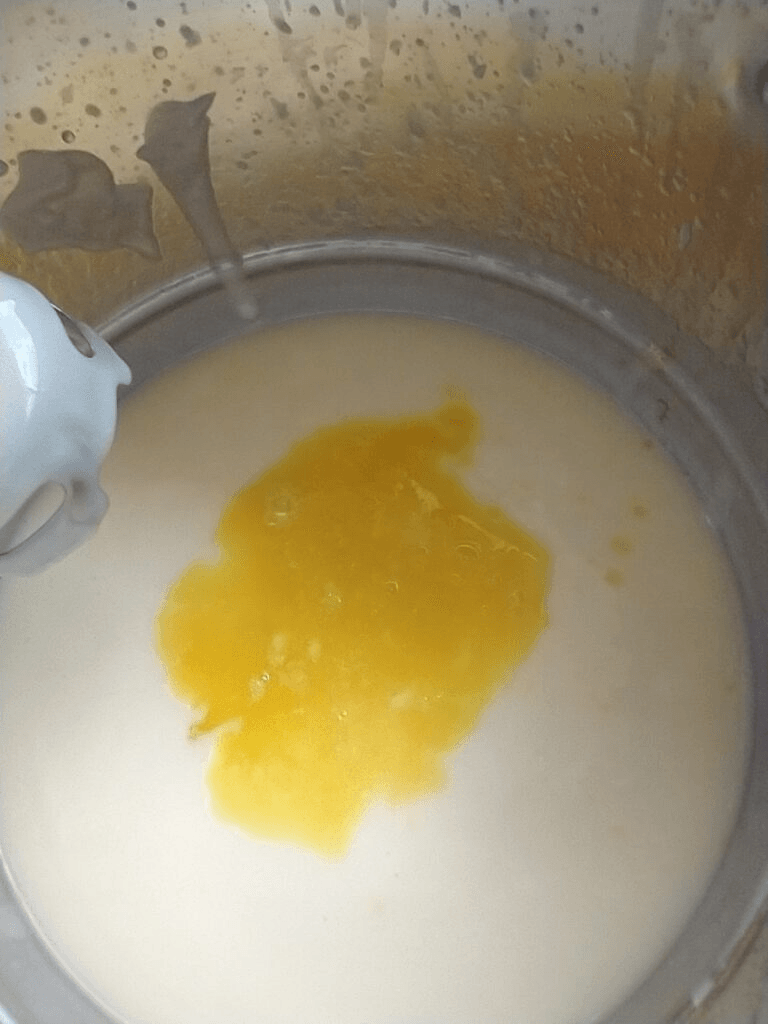
Once you have reached light trace, it is time to add your scent. Light trace is when a dribble of soap will sit on top of the batch for just a few moments before melting back in.
Blend until your scent has fully incorporated.
Fourth Step:
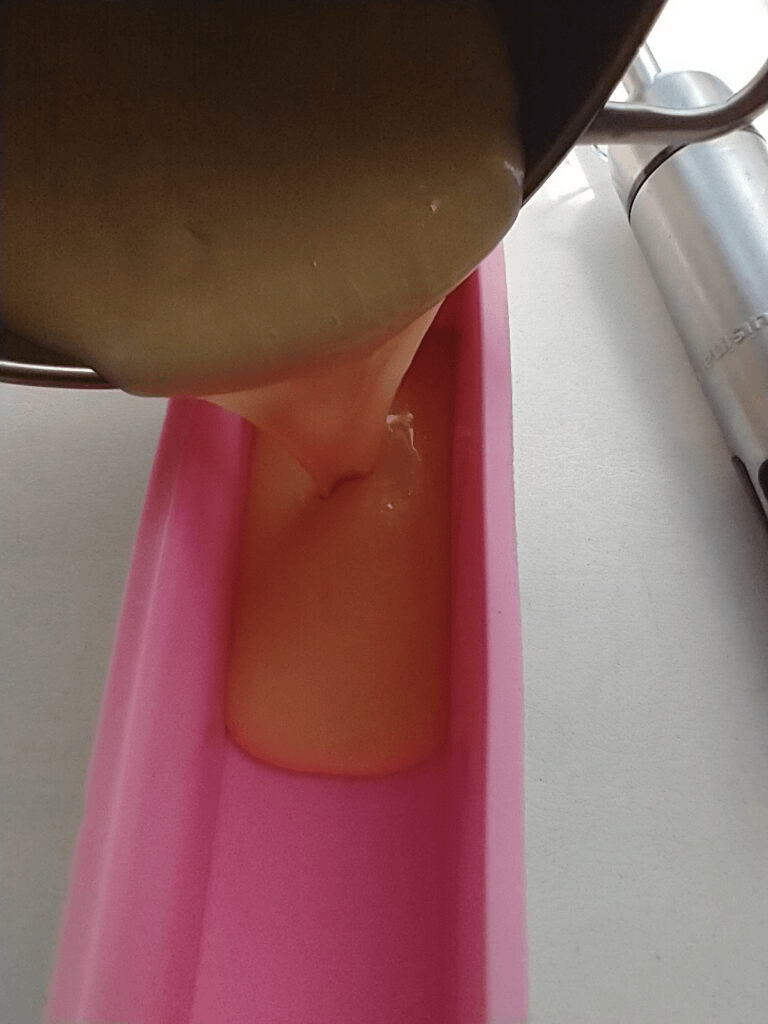
Time to get the soap into the mold. I don’t know what type of mold you are using, so you might have to figure this step out on your own! In general, pour the soap into the mold until it’s full. I use a loaf mold. I like to use a rubber spatula to scrape out all the soap from inside the pot.
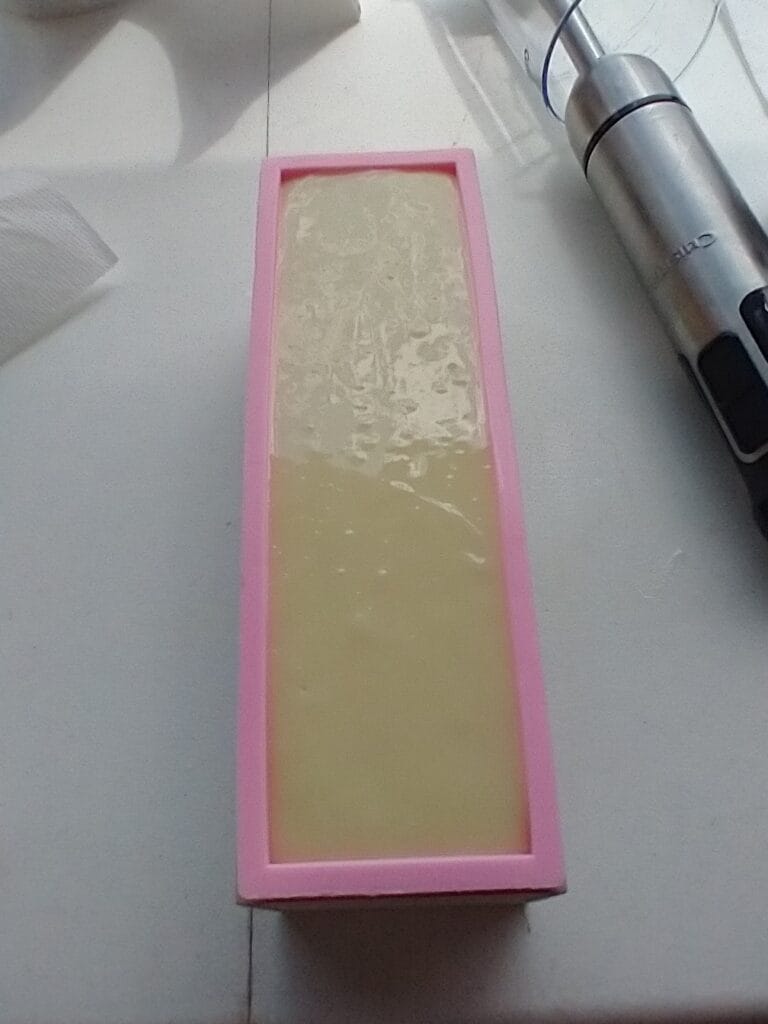
Fifth Step:
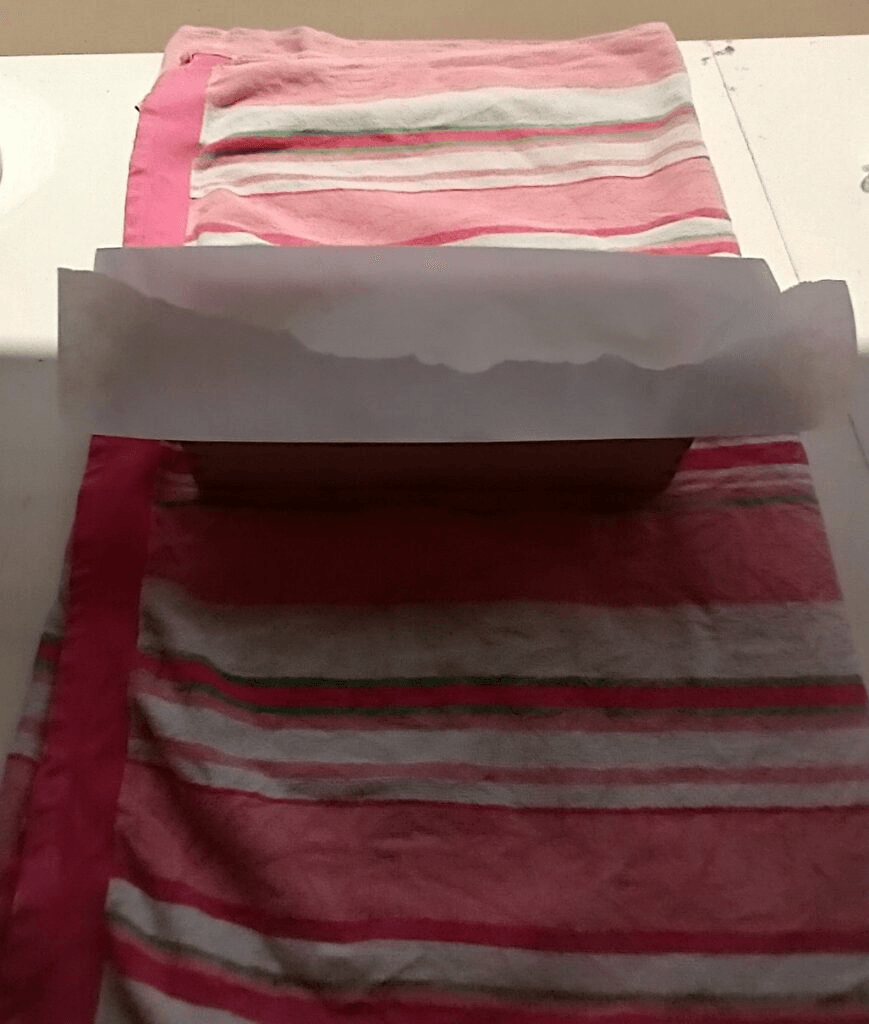
Now that your mold is filled, you will need to cover the top with some waxed or parchment paper. I already have mine on the towel I am going to use for the next part.
Covering the soap keeps it from getting stuff stuck to the top of it, debris, dog fur, etc. If you choose to do the next step, it also keeps the soap from getting absorbed and stuck into your towel.
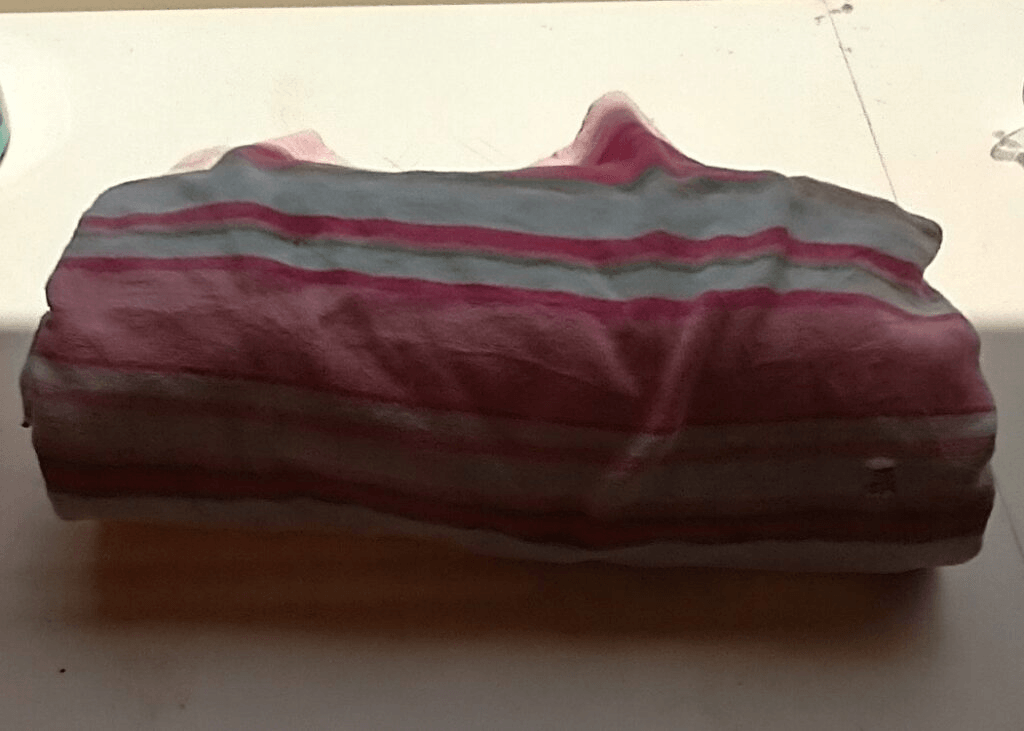
Sixth Step:
Wrapping your soap mold. Wrapping your soap while it is still liquid can help it reach the gel state faster by trapping the heat. Your soap is still warm and will continue to be warm while processing. While not entirely necessary, it can help your bar look nicer. Grab an old towel or two, or a blanket, and gently wrap the mold. Once wrapped, you will need to find a place it can rest undisturbed for the next 24 hours. It is currently summer, so I just left this bad boy in my garage. In winter I will bring them inside and rest them in my closet.
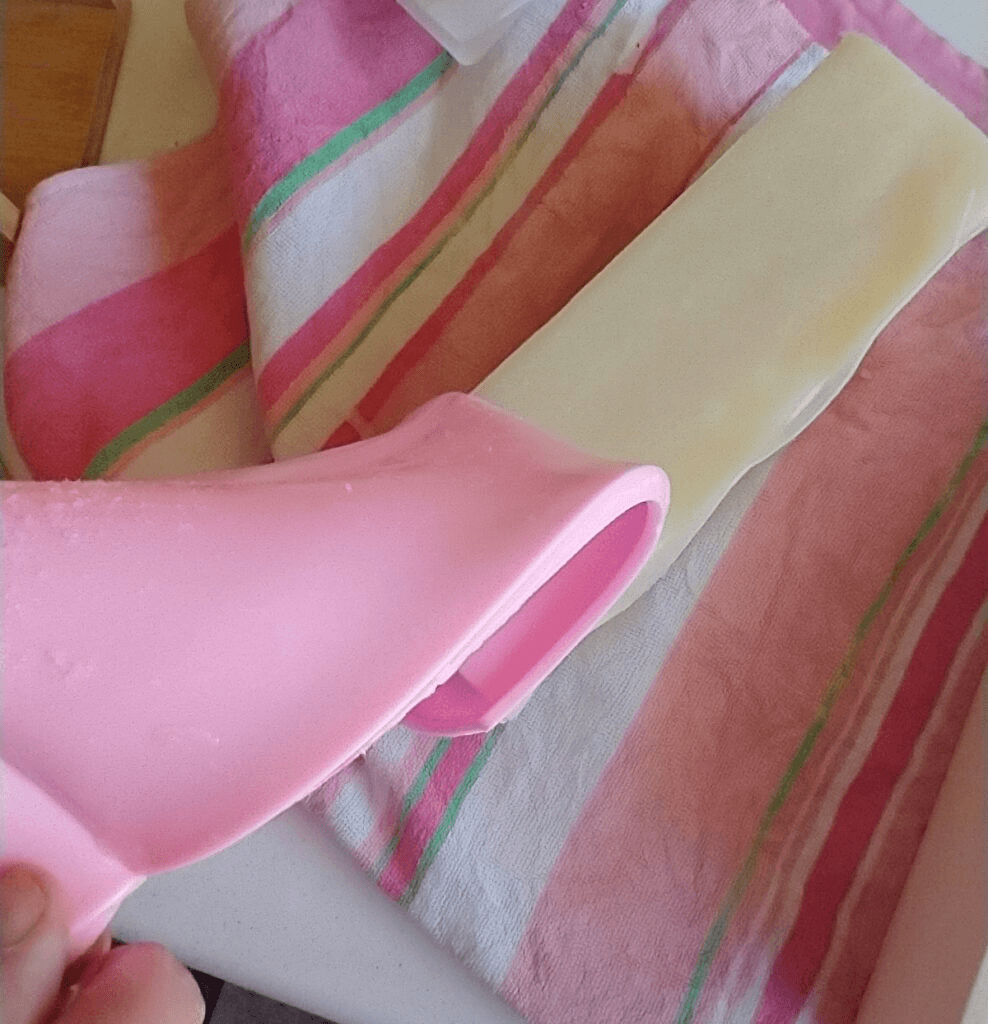
Seventh Step:
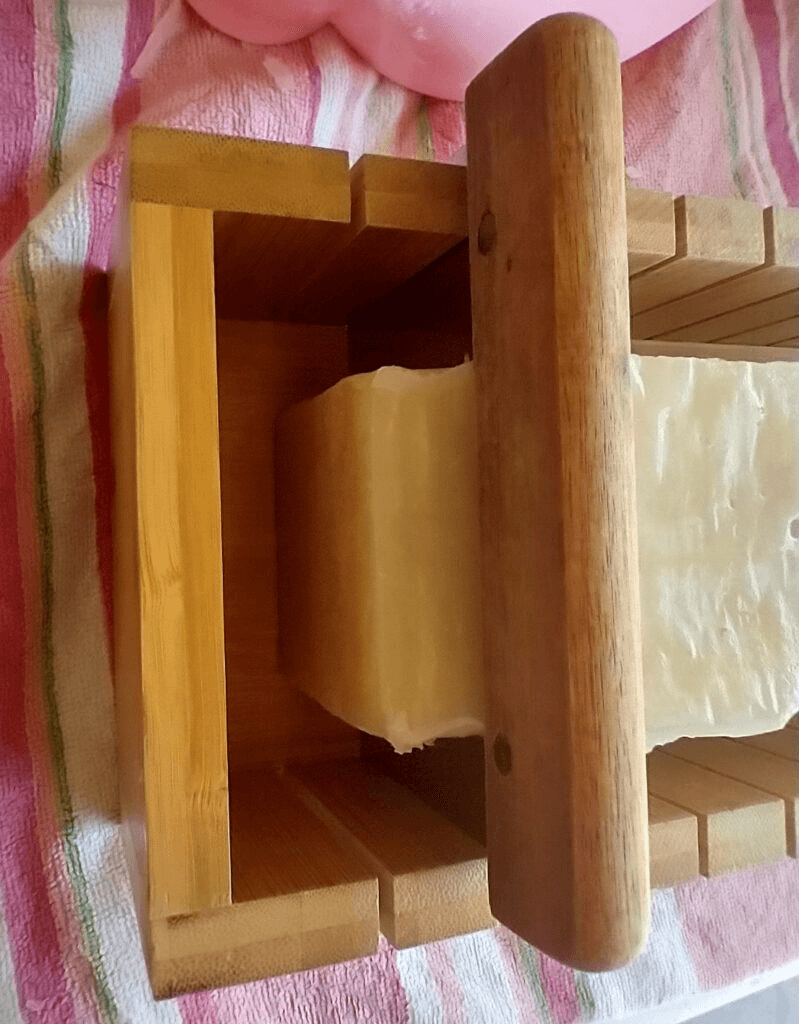
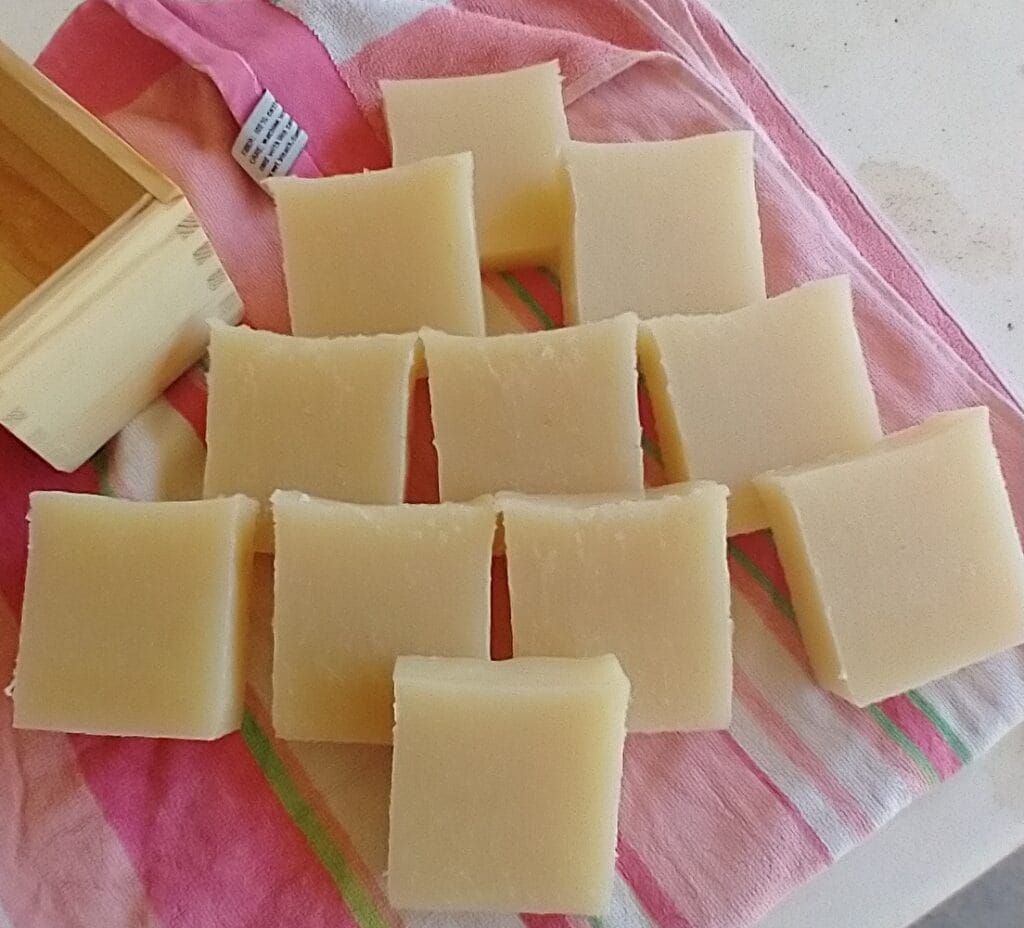
Unmolding and cutting the soap. The soap should be solid enough after 24 hours to remove from the mold and cut into bars. You want the soap firm enough to handle without it being mushy, but not so hard that it is impossible to cut. 24 hours is usually enough time. Sometimes less, occasionally more.
If you used shaped molds, you won’t have to bother with cutting. You can move ahead to curing. For loaf molds, keep on reading.
There are a ton of different ways of cutting soap bars. If you are using a ruler and knife, measure out how thick you want your bars to be, make marks on the loaf and cut with your knife. There are also cutters that have wires for slicing an entire loaf at one time. I use a metal bench scraper and guide.
I like that I don’t have to think to hard about cutting perfectly. I just slap the loaf into the guide and go.
Eighth Step:
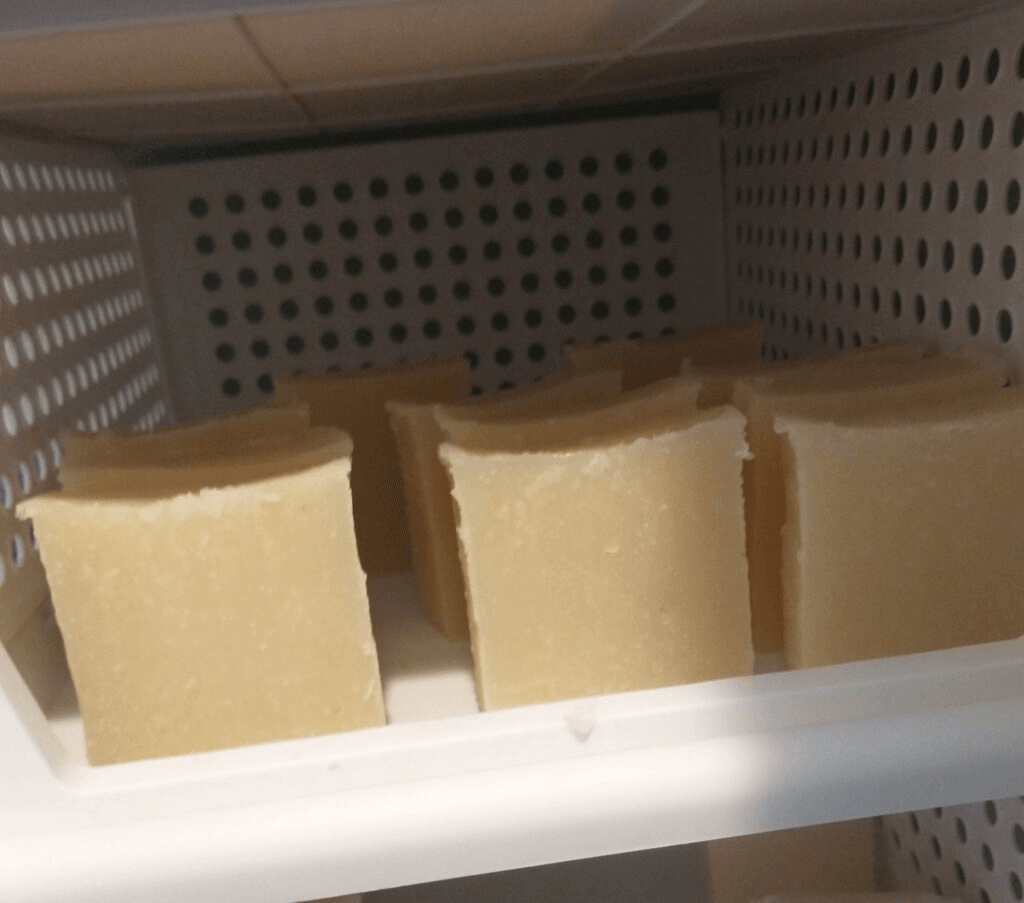
Curing the soap. This is the hardest part for me! I want to be able to use those beautiful bars right away! But they are too soft and will melt into nothingness very quickly. They need time to dry and harden. I cure mine in a repurposed coat closet, using some storage bins I found on Amazon. The bars need exposed to air, but not moisture, dust, light, or anything that would stick to them. Before the closet, I would cure them on a shelf in my laundry room. I just set the bars on top of a piece of parchment paper, leaving some space between the bars. The curing process takes anywhere from four to six weeks! Heartbreaking, right?! Patience is a virtue and you will be rewarded with longer lasting soap!
The best way to know when your soap is ready to use, is by how your bars feel. Once your bar is hard, it is ready to use. Some bars will feel softer than others, but if you can wait at least 4 weeks, you should be good to go. Or you can stick a bar on your tongue and see if you get a little shock feeling like you would if sticking a battery to your tongue. I don't recommend you do this method, especially if you plan on giving it as a gift, unless you like telling people, "Oh, by the way, I licked all the bars of soap." Not that it is all that unsanitary, it is soap after all, but it is kinda gross. And soap doesn't taste all that good either.
The Last Little Bits:
I have just a few more things before we wrap up.
Cleaning up after you make your soap. You basically just wash everything like you normally would any other dishes. You could wear your gloves if you are concerned about the soap being harsh, but I have never had any trouble. You should make sure that you keep the soapmaking stuff separate from your regular dishes. They are also on the oily side, so you may need a little extra detergent to clean them up.
I don’t normally bother with cleaning up my bars to make them pretty. There are plenty of tutorials for that already. Besides, as you use them, all of that work goes away.
I would love to know if any of you try this out! Please reach out to me if you have any questions!


Copyright© 2026 What Don't I Do. All rights reserved.
Disclaimer: As a systeme.io affiliate, I earn a commission if you purchase a product through my link, at no additional cost to you.